Car Glass Repair Costs and Replacement Guide Part 2
Car Glass Repair Costs and Replacement Guide Part 2
Car Glass Repair Costs and Replacement Guide Part 2
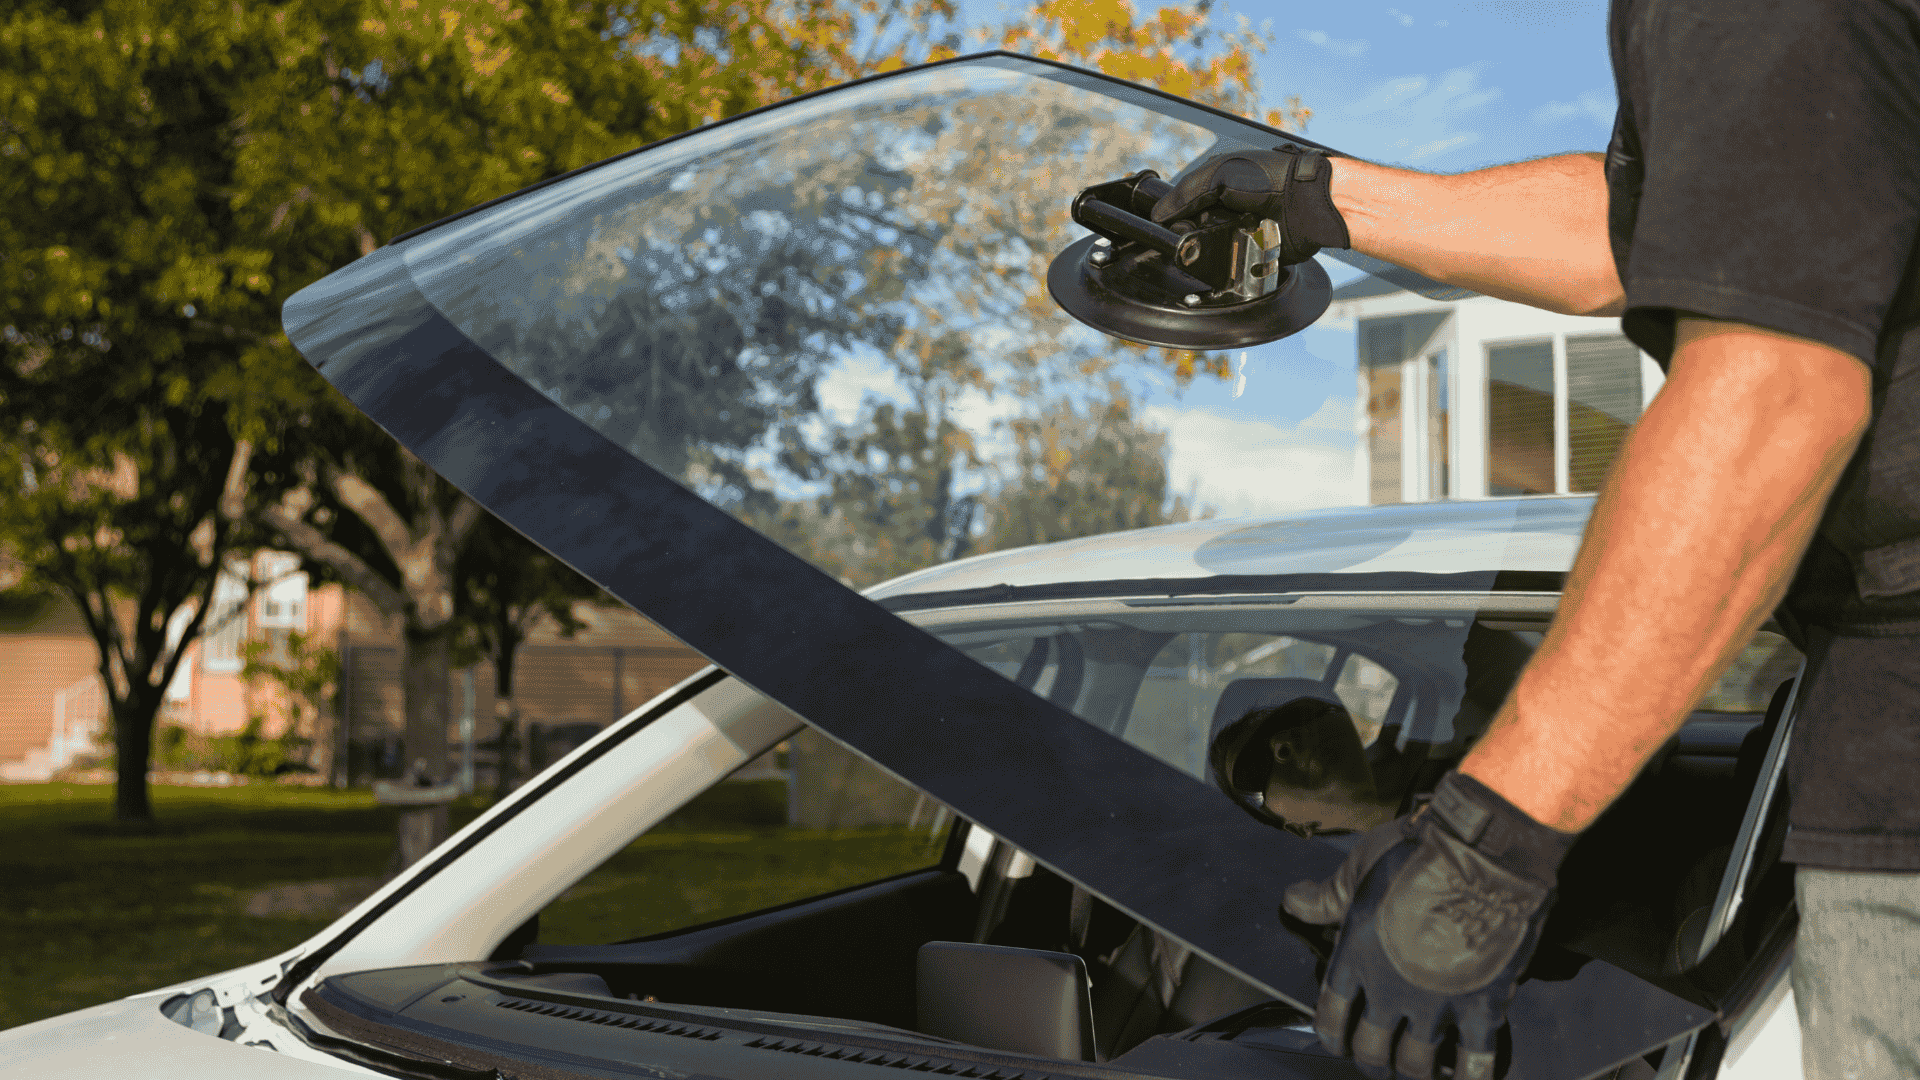
Replace your windshield as soon as next day at your home, work or your preferred location.
By submitting this form you are agreeing to receive SMS and phone call updates on your windshield replacement and at anytime can opt out by replying "STOP".
Replace your windshield as soon as next day at your home, work or your preferred location.
By submitting this form you are agreeing to receive SMS and phone call updates on your windshield replacement and at anytime can opt out by replying "STOP".
By submitting this form you are agreeing to receive SMS and phone call updates on your windshield replacement and at anytime can opt out by replying "STOP".
By submitting this form you are agreeing to receive SMS and phone call updates on your windshield replacement and at anytime can opt out by replying "STOP".
Replacing a car head-up display requires removal and recalibration steps.
A car head-up display projects essential driving information onto the windshield, such as speed, navigation, and alerts. If you're trying to replace a car head-up display, the process typically involves removing panels on the dashboard, carefully disconnecting the current display unit, and installing a new one in its place. The challenge lies not only in physical removal and reinstallation, but also in the electronic integration with the vehicle’s onboard systems. Many HUDs connect to sensors and software that must be calibrated to function accurately. Once installed, the new display will often need to be calibrated through the vehicle's infotainment or diagnostic system. Because these displays often communicate with critical safety systems such as adaptive cruise control and lane-keeping assist, any misalignment or software inconsistency could compromise your driving experience. Professional installation is highly recommended to ensure the new HUD is correctly positioned, properly sealed, and correctly interfaced with the vehicle’s sensors and control systems. Some newer HUDs also require reprogramming through dealer-level tools, so always check with your manufacturer or certified auto tech before attempting this replacement yourself.
Fixing car HUD navigation may involve updates, inspections, or repair.
If your car’s head-up display navigation system isn't functioning as expected, there are a few ways to fix it. The first step is software-related. Many issues with HUD navigation can be traced back to out-of-date software, especially if your vehicle receives over-the-air updates or relies on a third-party app. Go into your infotainment system settings and check for available updates. Applying a software patch may restore full functionality. If software isn’t the problem, inspect the projection lens. Smudges, dust, or condensation on either the inside of the windshield or the lens itself can distort or block the image. Use a microfiber cloth and appropriate cleaner to remove any obstructions. If the image flickers or fails to appear entirely, it might indicate a deeper issue such as a loose wire, damaged display panel, or malfunctioning control module. In such cases, diagnostics through an OBD-II scanner can help pinpoint the problem. Since HUDs interface with multiple subsystems, an error with one component can ripple into the display system. If you're unsure of how to access these tools or navigate your car’s diagnostics menu, a certified mechanic or dealership technician should take over.
Adjusting the car head-up display enhances driving visibility and comfort.
If you’re having trouble reading your car’s head-up display, adjusting its brightness and positioning can make a big difference. To do this, access your HUD settings from the vehicle’s infotainment menu or the driver’s dashboard settings panel. Most cars allow you to adjust the vertical and horizontal position of the display so that it aligns with your line of sight while seated comfortably. This is crucial because a display that sits too low or too high can force you to refocus your eyes, defeating the purpose of having important driving information visible at a glance. Brightness settings are equally important. During bright daylight or direct sunlight, the projection can appear washed out. Increasing brightness ensures that the data remains visible. On the flip side, a display that's too bright at night can cause distraction or eye strain. Some systems include automatic brightness adjustment based on ambient light sensors. If your HUD lacks this feature, remember to manually lower the brightness before nighttime driving. You can also adjust the data shown on the HUD, choosing between speed, navigation prompts, road signs, or safety alerts. Limiting the display to only critical information helps reduce clutter and makes the feature more helpful rather than distracting.
Replacing a car window involves removing old glass and installing the new one.
When a car window gets shattered or severely scratched, replacement becomes necessary. Begin the process by lowering the window if it still moves, or manually positioning it so you can access the mounting bolts or clamps. You’ll first need to remove the inner door panel. This usually involves removing screws and gently prying off clips with a panel removal tool. Disconnect any electrical components like switches or courtesy lights. With the door panel removed, you’ll have access to the window regulator and mounting hardware. Carefully unbolt the glass from the regulator track. Slide the damaged glass out of the window frame, being cautious not to damage the rubber seals or weather stripping. Clean out any broken glass or debris from the inside of the door cavity. Once cleared, install the new glass by reversing the removal steps. Carefully slide it into the window frame and align it with the regulator bolts or clips. Tighten the hardware securely and reconnect any electrical components. Test the window’s operation by rolling it up and down several times. Finally, reattach the door panel and confirm that everything fits flush. While it’s possible to do this job yourself, the tight fit and fragile nature of automotive glass make professional installation a safer and more reliable choice.
Fixing a car window that will not roll down requires electrical system checks.
Power windows can fail for many reasons, ranging from blown fuses to worn-out motors. Begin troubleshooting by checking your car’s fuse box for a blown window fuse. If it’s damaged, replace it with one of the same rating and test the window switch again. If the fuse is intact, test the window switch itself. You can often swap it with another switch from a different window to see if the fault follows the switch or remains with the window. If the switch works, the problem may lie with the window motor or regulator. Remove the door panel to access these components. If the motor doesn’t make any noise when you press the switch, it may have failed entirely. Use a voltmeter or test light to confirm that power is reaching the motor when the switch is pressed. If there’s power but no movement, the motor is likely dead. If there’s no power, the issue may be with the wiring or the car’s control module. If you hear the motor running but the window doesn't move, the regulator is probably broken or off-track. Replacing a regulator requires disconnecting it from the motor and sliding it out of the door. A new regulator can be installed by reversing the process.
Replacing car glass water typically refers to refilling washer fluid correctly.
Maintaining your windshield washer fluid is an essential but often overlooked aspect of car glass care. If someone refers to replacing car glass water, they likely mean refilling the windshield washer fluid reservoir. Start by popping the hood and locating the reservoir, usually marked with a windshield or water symbol. Remove the cap and check the fluid level. If it's low or empty, refill it using a washer fluid appropriate for your climate. Standard blue fluid works in most temperatures, but if you live in a cold climate, make sure to use a winter blend that prevents freezing. Some washer fluids also include additives for bug removal or rain-repellent properties. Do not use plain water, as it lacks the cleaning agents and antifreeze properties of washer fluid. After refilling, test the system by activating your windshield washer controls. Make sure fluid sprays evenly from all nozzles and adjust them if necessary. If fluid doesn't spray, the nozzles may be clogged or the pump may be failing. Clean clogged nozzles with a needle or compressed air. If the pump is silent, check the fuse and wiring. Regularly maintaining this system ensures clear vision and prevents buildup of grime that can scratch your windshield.
Fixing car glass on older vehicles can be more affordable and customizable.
Older vehicles often use simpler window mechanisms and flat glass, which can make repairs more affordable. If your classic or vintage car has damaged glass, you may not need to order expensive OEM parts. Instead, many auto glass shops carry universal flat glass that can be cut to fit older models. This is particularly true for side and rear windows. Windshields, while more specialized, can also often be replaced with aftermarket or remanufactured versions at a fraction of dealer costs. Installation is usually easier because older window frames are not as tightly engineered or sensor-integrated as modern vehicles. Some classic cars also use mechanical regulators instead of powered systems, simplifying the repair process. However, you must be mindful of maintaining the car’s original character. Some owners choose to restore their vehicles with laminated safety glass instead of tempered glass to improve safety while preserving authenticity. Others upgrade their classic cars with modern features like UV coatings or tint for added comfort. Whichever route you choose, be sure the shop handling your vehicle has experience with classic models, as working with older components requires a different skill set and attention to historical details.
Understanding car glass insurance coverage helps manage repair expenses.
When dealing with a cracked or shattered window, your first question might be whether insurance will cover the cost. Most comprehensive auto insurance policies include coverage for car glass repairs, but the specifics can vary. Some insurance plans cover windshield repair or replacement with no deductible, particularly for small chips or cracks. This makes it worthwhile to report even minor damage. Other plans may apply your standard deductible, which means you’ll pay out of pocket unless the damage is severe. Call your insurance provider and ask about their glass coverage terms. Be sure to ask if they work with specific auto glass providers, as some companies may offer direct billing or discounted rates through your insurer. Always take photos of the damage and save any receipts from repair shops to expedite the claim process. In some states, glass coverage is mandatory or available as a separate add-on, so reviewing your policy annually is smart. Even if you don't have coverage today, adding glass protection might be a wise investment going forward, especially if you frequently drive in areas with heavy road debris or fluctuating temperatures.
Choosing the right auto glass shop can ensure quality and fair pricing.
When your car needs glass work, choosing a reputable shop is essential. Start by researching local providers and reading reviews online. Look for businesses certified by organizations like the Auto Glass Safety Council, which sets quality and safety standards for windshield installation. Ask for a written estimate before agreeing to any work. A quality shop will offer transparent pricing, explain the process clearly, and walk you through options such as OEM vs aftermarket glass. Ask about warranties on both labor and parts. Good shops typically offer at least a one-year warranty, and some extend this further. Also check whether the shop recalibrates advanced driver assistance systems like lane departure warnings and adaptive cruise control if your windshield houses sensors. Improper recalibration can lead to malfunctioning safety systems. If you’re busy or unable to drive, mobile services can repair or replace your windshield at your home or office, but confirm that they bring the same tools and level of expertise as an in-shop visit. Don’t base your decision solely on price; quality materials and certified technicians are worth the investment to ensure a safe, lasting result.
Preventing car glass damage starts with good habits and proper maintenance.
Maintaining your car’s glass is about more than just aesthetics; it plays a major role in visibility and safety. Start by washing your windshield and windows regularly to remove debris, salt, and bugs that can damage the surface over time. Use automotive-grade glass cleaner and soft microfiber cloths to avoid scratching. Replace your windshield wipers every six to twelve months, or whenever you notice streaking, skipping, or squeaking. Keep your washer fluid reservoir full and use it often to remove grime before it builds up. When cleaning the inside of your windows, avoid ammonia-based cleaners, especially if you have window tint. Park in the shade or inside a garage when possible to minimize UV exposure and reduce temperature swings that can cause stress cracks. Be cautious of automatic car washes, as some brushes can scratch the glass or pull on loose trim. Lastly, address chips or cracks immediately, even if they seem small. Early repairs are faster, cheaper, and can prevent the damage from spreading. By developing these simple habits, you’ll prolong the life of your auto glass and avoid costly repairs in the future.

