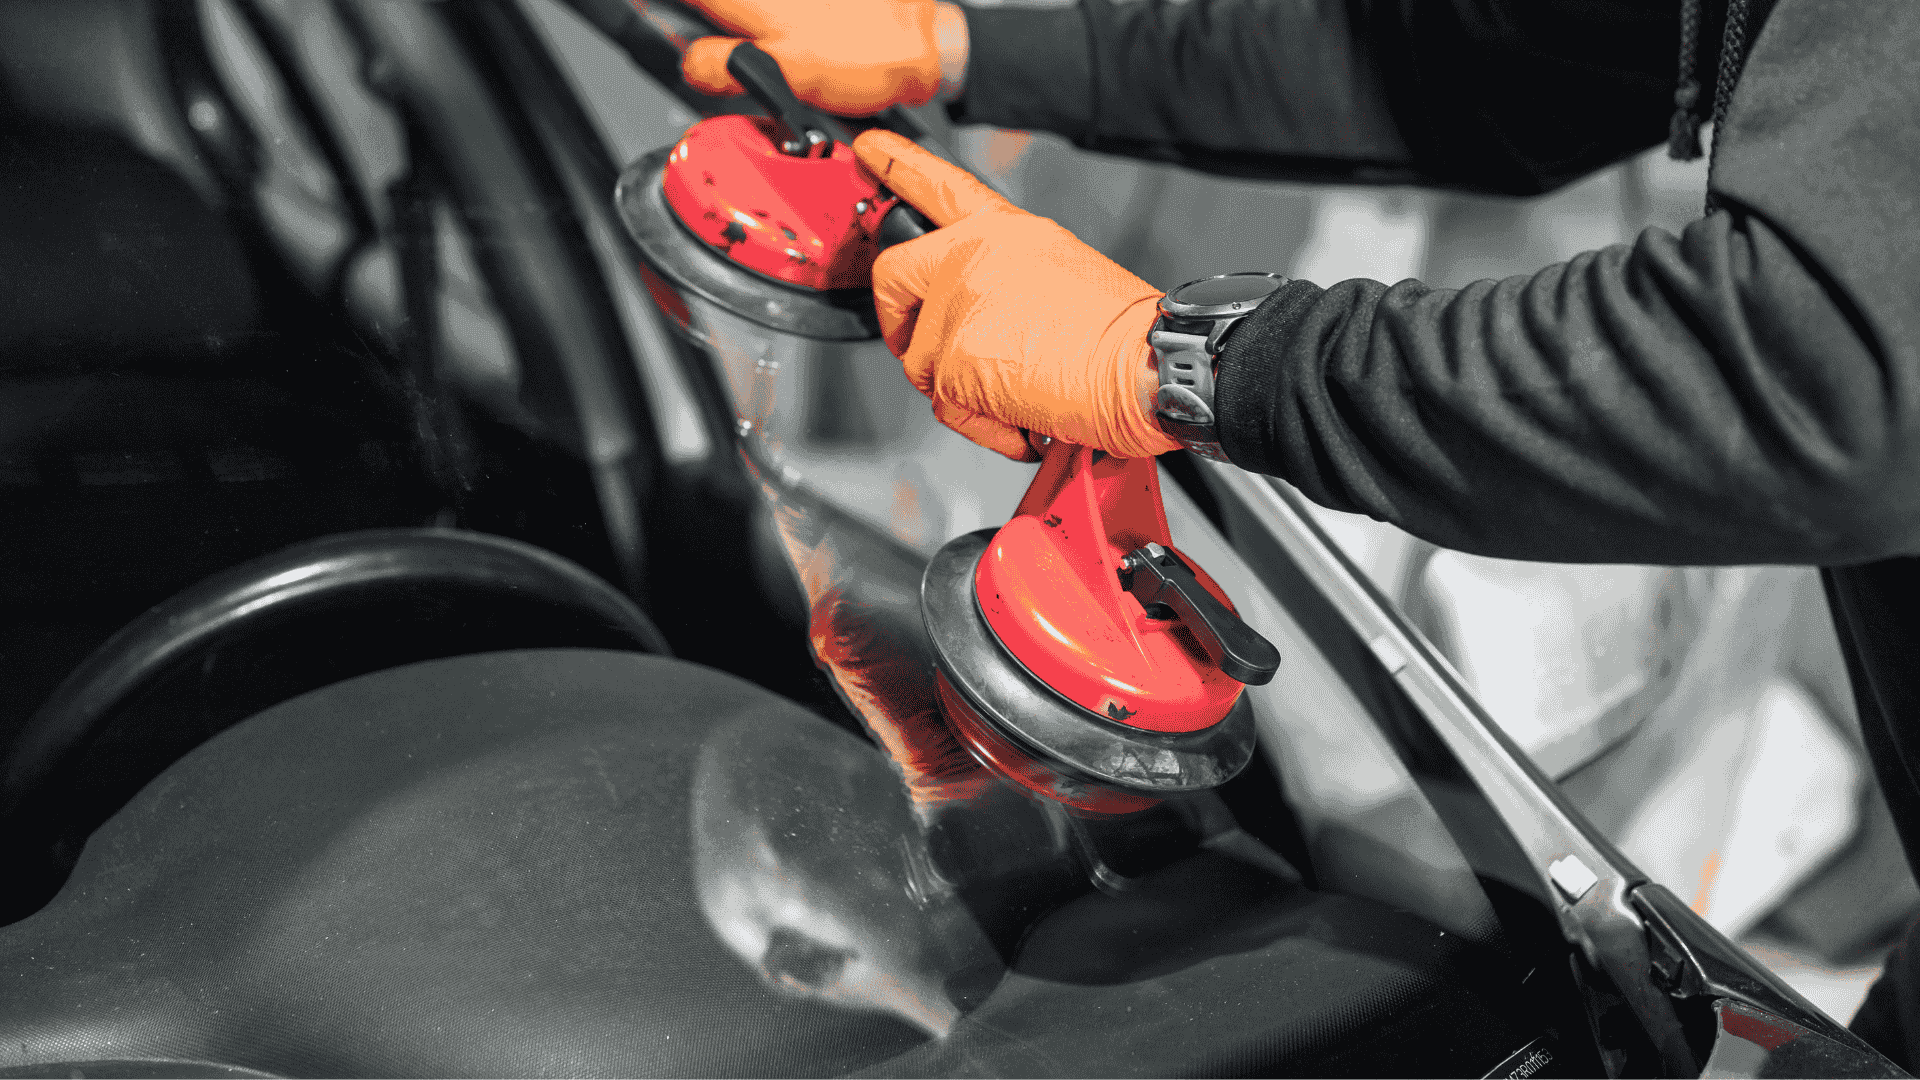
How To Remove Bugs, Sap, Overspray, And Paint From Windshields
How To Remove Bugs, Sap, Overspray, And Paint From Windshields
How To Remove Bugs, Sap, Overspray, And Paint From Windshields
Replace your windshield as soon as next day at your home, work or your preferred location.
By submitting this form you are agreeing to receive SMS and phone call updates on your windshield replacement and at anytime can opt out by replying "STOP".
Replace your windshield as soon as next day at your home, work or your preferred location.
By submitting this form you are agreeing to receive SMS and phone call updates on your windshield replacement and at anytime can opt out by replying "STOP".
By submitting this form you are agreeing to receive SMS and phone call updates on your windshield replacement and at anytime can opt out by replying "STOP".
By submitting this form you are agreeing to receive SMS and phone call updates on your windshield replacement and at anytime can opt out by replying "STOP".
How to remove bugs from windshield using natural and chemical options
Bugs smashed across your windshield are more than just a cosmetic issue—they can harden under the sun, obstruct your line of sight, damage wiper blades, and potentially cause permanent etching on the glass if not addressed promptly. Bug removal is a common concern for vehicle owners, especially those who drive long distances or travel through rural and wooded areas where insects are more prevalent. Begin by using a high-quality bug remover formulated specifically for automotive use. These products contain enzymes that break down the proteins in insect remains, making them easier to wipe away without damaging your glass. Spray the solution directly onto the windshield and let it sit for 3 to 5 minutes. For dried-on splatter, use a microfiber towel soaked in warm water and place it over the affected area for five minutes to loosen the residue. Wipe with circular motions using a dedicated bug sponge that offers texture without abrasiveness. If you prefer a more eco-friendly approach, mix equal parts of distilled white vinegar and warm water in a spray bottle, adding a few drops of mild dish soap for grease-cutting power. Spray generously and allow it to dwell before wiping. Don’t forget the windshield edges where bugs tend to accumulate and hide under wiper blades. Finish the job with a premium ammonia-free automotive glass cleaner to eliminate streaks and restore clarity. It’s also a good idea to apply a hydrophobic coating to your windshield after cleaning. This coating causes water and debris to bead off more effectively and makes future bug splatter easier to clean. Frequent windshield maintenance, especially during bug season in spring and summer, ensures optimal visibility, preserves wiper life, and contributes to overall road safety. Bug removal is one of the most requested services in auto detailing and windshield care because it's a consistent issue for vehicle owners of all types.
How to remove sap from windshield without damaging the glass surface
Tree sap is sticky, acidic, and difficult to remove from your windshield once it has baked under sunlight. It can cause hazing, smear marks, and potentially etch the glass if not treated correctly. This is especially problematic for vehicles regularly parked under pine, maple, and other sap-producing trees. The first step is softening the sap to avoid damaging the glass during removal. Use isopropyl alcohol or a dedicated automotive sap remover. Apply it with a soft microfiber cloth and hold it against the affected area for at least a minute. This gives the solution time to break down the resin. Gently rub in small circular motions without applying too much pressure, as this could spread the sap or grind particles into the glass. For thick or stubborn deposits, a plastic scraper can be used at a shallow angle, but only after softening the sap thoroughly. Avoid razor blades or any metal tools that can scratch or chip the surface. Once the sap is removed, clean the area with a streak-free glass cleaner. For eco-conscious drivers, citrus-based degreasers or a mixture of baking soda and water can serve as natural alternatives, although they require more elbow grease. Regularly waxing or treating your windshield with a ceramic glass coating can make sap less likely to adhere in the future. If you park in tree-covered areas frequently, investing in a windshield protector or sunshade can provide a barrier against falling sap and leaf residue. Glass that is well-maintained is less likely to develop long-term stains or streaks that impair visibility. Removing sap quickly is also crucial because it attracts dirt, insects, and even bird droppings, leading to a compounding cleaning challenge. Auto glass experts often recommend professional sap removal if the residue has spread or hardened beyond DIY treatment.
How to remove overspray from windshield using clay bar and solvents
Overspray happens when fine paint particles settle onto your windshield during nearby painting projects, home renovations, or even spray paint vandalism. It leaves a sandy, gritty texture on the glass and causes streaking or haziness when using your wipers. Removing it safely requires a combination of lubrication, technique, and patience. Start by thoroughly washing your windshield using a car shampoo that breaks down oils and grime. Dry the glass completely before applying any additional treatment. Use a professional-grade clay bar designed for glass, not for paint, as the coarseness is slightly different. Spray a lubricant that comes with the clay bar or use a detailing spray that allows the bar to glide across the surface. Work in small sections, using side-to-side and up-and-down motions to lift the overspray particles. You’ll notice the surface becoming smoother as contaminants are removed. Frequently inspect the clay bar for embedded debris and knead it to expose a clean surface. For extremely stubborn overspray, use an adhesive remover or isopropyl alcohol applied with a microfiber towel, carefully rubbing in circular motions. Do not use nail polish remover, acetone, or gasoline, as these can damage nearby paint, plastic trim, or rubber seals. After you’ve treated the area, rinse the windshield and apply a polish to restore clarity and gloss. Seal it with a hydrophobic or ceramic treatment to reduce future contaminant buildup. Overspray is more common than many drivers realize and can happen at car dealerships, body shops, and residential neighborhoods. Routine inspections and fast removal ensure windshield clarity, prolong the life of wipers, and maintain the vehicle’s aesthetic and resale value.
How to remove paint from windshield with care and precision tools
Paint can accidentally get on your windshield during DIY projects, auto body work, or from spray-paint incidents. Removing it requires extra caution to avoid scratching the glass or damaging surrounding rubber trim, tint, or defrost lines. First, identify whether the paint is water-based or enamel. Water-based paints can sometimes be removed using soap, warm water, and a microfiber towel. For hardened or oil-based paint, soak a cloth in isopropyl alcohol or use an automotive paint remover that is safe for glass. Let the solvent sit on the painted area for several minutes to soften the material. Use a plastic razor blade at a shallow angle and begin scraping slowly and evenly, applying light pressure. Avoid metal blades, especially on curved or treated glass. Work section by section and remove the loosened paint residue with a clean towel. Repeat the process as needed, but be patient—rushing this process increases the risk of glass damage. Clean the windshield thoroughly once the paint is gone, using a high-quality glass cleaner to remove any chemical residue. If the paint stained the glass or etched the surface, consider using a polishing compound formulated for auto glass to restore clarity. Applying a water-repellent coating afterward adds an extra layer of protection. In extreme cases, especially if the paint is embedded or mixed with construction debris, professional detailing or replacement may be necessary. Paint removal is a precision task and should be part of a comprehensive approach to windshield maintenance, especially for those who live or work in high-risk areas such as urban garages, apartment complexes, or construction zones.
How to remove magic eraser residue from clean windshield surfaces
Magic erasers, made from melamine foam, are powerful tools for removing stubborn stains, mineral buildup, and light scratches from windshields. However, improper use can leave behind white residue or dull spots that interfere with visibility. To use one correctly, moisten the magic eraser slightly and gently scrub the glass using long, even strokes. Focus on the areas with hard water spots, soap scum, or leftover grime from previous cleanings. Don’t apply excessive pressure, especially on coated or tinted windshields. After cleaning, rinse the entire area with clean water to remove eraser residue. Follow with an automotive glass cleaner and dry using a microfiber towel to avoid streaks. For heavy residue, repeat the process using distilled water or a vinegar-based solution to neutralize any remaining foam particles. Avoid using the eraser around sensors, embedded cameras, or heating elements unless you're confident in their durability. Magic erasers are abrasive, so limit use to once a month or less. Combine this method with weekly maintenance using standard glass sprays for best results. Professionals often use magic erasers during detailing sessions for precision cleaning because they can target grime that standard tools miss. When used correctly, they extend the life of your windshield by removing buildup that causes fog, streaks, and nighttime glare.
How to remove car sticker from windshield with heat and rubbing alcohol
Removing car stickers like inspection tags, parking decals, and state registration stickers can be tricky if they’ve been stuck on for years. Start by using a hairdryer or heat gun on low. Hold it 3–6 inches from the sticker for 30–60 seconds to loosen the adhesive backing. Once the sticker becomes pliable, use a plastic scraper or an old credit card to peel up one edge. Slowly and steadily peel the sticker away at a 45-degree angle. If adhesive remains, apply rubbing alcohol or a citrus-based adhesive remover to the sticky spot. Let it sit for a minute, then rub in circular motions with a microfiber cloth. For older stickers, you may need to reapply several times to fully dissolve the adhesive. After the residue is gone, wash the area with warm water and soap, then clean with glass spray. Be gentle if working near defrost lines, embedded antennas, or tint film. If the sticker is on the inside of the windshield, make sure you're not disrupting the electronics near the dashboard. Removing stickers without scratching the glass keeps your windshield looking clean and professional. This is especially important if you're preparing the car for resale or lease return, where cosmetic appearance matters.
How to remove ice from a windshield quickly using safe methods
Clearing ice off your windshield in the morning can delay your schedule if not done efficiently. Always begin by starting the vehicle and activating the defroster on high to warm the glass from inside. While the heat circulates, spray the outside of the windshield with a homemade de-icer made from two parts isopropyl alcohol and one part water. This mixture helps lower the freezing point and begins melting the ice within seconds. Let it sit briefly, then use a plastic scraper to clear the loosened ice. Use vertical strokes and avoid excessive force. For very thick ice, repeat the spraying and scraping process until the windshield is fully clear. Wipe off remaining slush with a microfiber towel. Never pour hot water onto a frozen windshield—it may cause sudden expansion and cracking. Also avoid sharp tools like metal scrapers or knives, which can permanently scar the glass. Pre-treat your windshield at night with a frost-resistant spray or cover it with a frost guard to prevent build-up. Consistently using proper tools and solutions in freezing conditions extends the life of your windshield and ensures safe driving visibility even in harsh weather.
How to remove ice from the windshield with de-icer and plastic scraper
In extremely cold climates, thick layers of ice can make windshield clearing a time-consuming task. Using commercial-grade de-icer sprays combined with proper tools can save valuable minutes. Begin by spraying the de-icer generously across the windshield, starting from the top and working your way down. Let the solution sit for 1–2 minutes. While waiting, start your vehicle and turn on the front and rear defrosters. Use a plastic scraper with an ergonomic handle to chip away the ice in sections. Use long downward motions to push the melting ice off the surface. If the scraper has a rubber edge, use it to squeegee off slush without scratching. Repeat the spray-scrape cycle for remaining patches. Always avoid sudden impacts or quick temperature changes on the windshield that can trigger stress cracks. De-icers often contain methanol, so use in well-ventilated areas. After the ice is gone, wipe down with a dry towel and apply a water-repellent treatment to prevent refreezing. Windshield maintenance in winter reduces wear on wipers, keeps washer fluid from freezing, and ensures compliance with traffic safety regulations regarding visibility.
How to remove foggy headlights and restore lens clarity safely
Foggy headlights significantly reduce nighttime visibility and overall vehicle safety. While not technically part of your windshield, they play a critical role in your ability to drive safely in dark or adverse conditions. Start by washing the headlight lenses with warm soapy water and drying them thoroughly. Inspect the lens surface for yellowing, pitting, or hazy buildup. For light fogging, apply a paste made of baking soda and water using a clean cloth. Rub in small circles for a few minutes before rinsing. For more severe oxidation, use a headlight restoration kit, which includes abrasive pads, polish, and a UV sealant. Wet-sand the headlights in progressive stages, starting with 1000-grit sandpaper and moving up to 3000-grit. Keep the surface wet throughout to avoid micro-scratches. After sanding, apply plastic polish and buff it in with a microfiber pad. The clarity should begin to return. Finish by applying the included UV sealant to prevent the lens from fogging again. This step is essential as untreated lenses will oxidize again quickly. Use painter’s tape to mask the surrounding paintwork to prevent accidental scuffing. For maintenance, wash the lenses regularly and reapply UV sealant every few months. Clear headlights help reduce glare, illuminate road hazards more effectively, and complement a well-maintained windshield for full front-end visibility. Bang AutoGlass often offers bundled services to restore both windshields and headlights during seasonal tune-ups.
How to remove hazy headlights using sanding and UV sealant application
Headlights that have been exposed to years of UV radiation and road debris often develop deep haze that can't be cleaned with standard polish. In such cases, wet sanding followed by UV sealant application is the most effective method to restore full clarity. Begin by cleaning the lens and masking the surrounding area using painter’s tape. Start sanding with 1000-grit wet sandpaper, applying even horizontal strokes while keeping the surface soaked in water. Continue with 2000- and 3000-grit sandpaper in alternating directions to smooth out scratches from previous stages. Wipe the lens clean with a lint-free towel and inspect for even clarity. Apply a specialized plastic polish using a polishing pad or buffer to eliminate fine imperfections. Wipe clean again and apply a UV-resistant clear coat evenly across the lens surface. This coating acts as a protective barrier against further UV damage and road grime. Allow it to dry per manufacturer instructions, typically 30–60 minutes. Repeat the treatment every 6–12 months based on climate and vehicle use. For high-mileage cars or vehicles exposed to constant sunlight, consider covering your headlights with protective film. Clear headlights dramatically improve forward illumination, reduce headlight scatter, and make your vehicle look newer and better maintained. Headlight restoration is often overlooked in regular detailing, but it plays a major role in vehicle safety and is a common upsell in auto glass service packages offered by shops like Bang AutoGlass.

