How to Repair a Growing Crack in Windshield
How to Repair a Growing Crack in Windshield
How to Repair a Growing Crack in Windshield
Replace your windshield as soon as next day at your home, work or your preferred location.
By submitting this form you are agreeing to receive SMS and phone call updates on your windshield replacement and at anytime can opt out by replying "STOP".
Replace your windshield as soon as next day at your home, work or your preferred location.
By submitting this form you are agreeing to receive SMS and phone call updates on your windshield replacement and at anytime can opt out by replying "STOP".
By submitting this form you are agreeing to receive SMS and phone call updates on your windshield replacement and at anytime can opt out by replying "STOP".
By submitting this form you are agreeing to receive SMS and phone call updates on your windshield replacement and at anytime can opt out by replying "STOP".
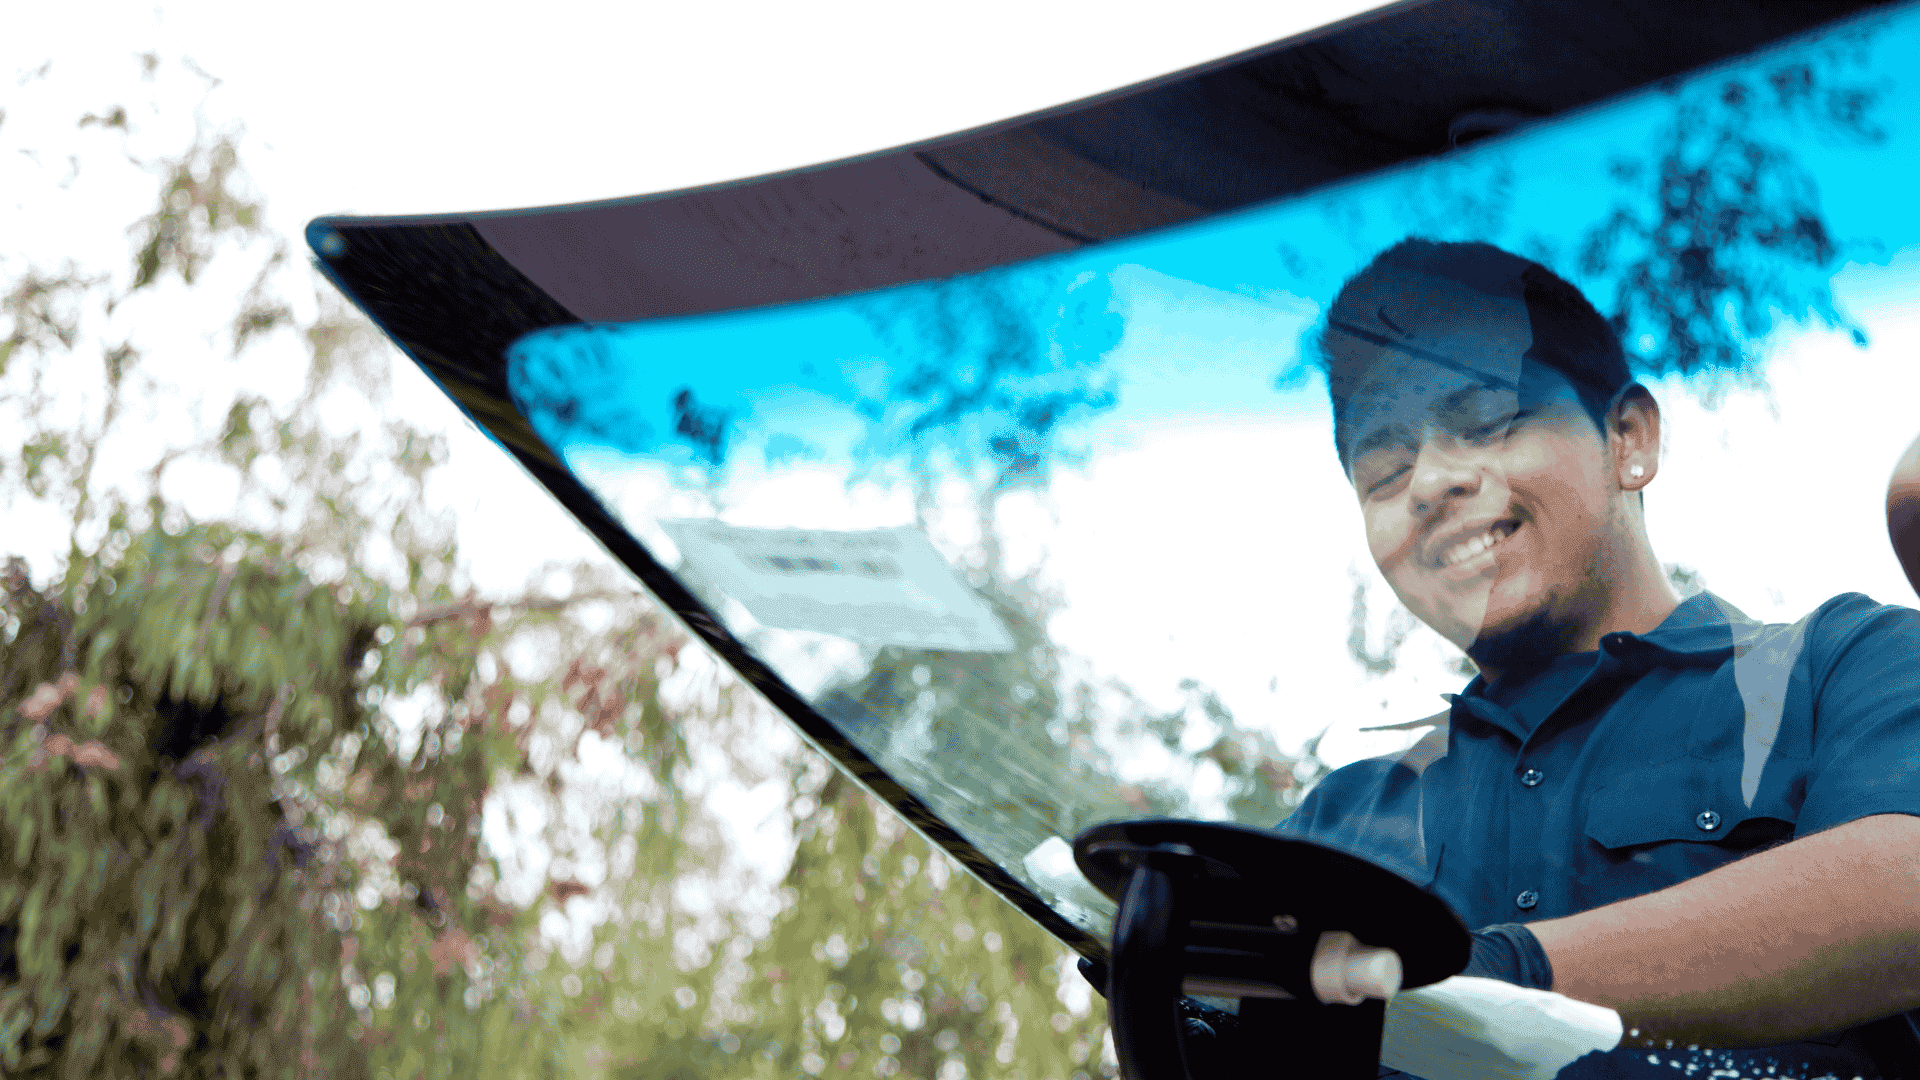
A growing crack in your windshield is not only unsightly—it’s a potential safety risk that should never be ignored. If you're wondering how to repair a growing crack in your windshield, the first step is to determine the size, length, and location of the crack. Cracks that are less than six inches long and not in the driver’s direct line of sight can often be repaired using a professional-grade resin injection kit. This method involves cleaning the crack, applying resin to fill the gap, and curing it with ultraviolet (UV) light. The resin restores structural integrity to the glass and prevents the crack from expanding further due to temperature changes, pressure, or vibrations from driving. However, if the crack is growing rapidly, extends to the edge of the windshield, or interferes with the field of vision, a full windshield replacement is typically required. Modern windshields are designed to be a structural component of the vehicle, especially during collisions and airbag deployment. Driving with a compromised windshield can reduce the effectiveness of these safety systems. Repair kits available at auto parts stores can be useful for DIY repairs, but they often work best on small chips or hairline cracks. If the damage has progressed, it’s safer and more reliable to consult a certified auto glass technician. Many auto insurance policies cover chip and crack repairs at little or no cost under comprehensive coverage. Addressing a growing crack early can save you hundreds of dollars in replacement costs and help maintain visibility, vehicle integrity, and road safety.
How to Remove Hard Water Stains from Car Windows
Hard water stains on your car windows are caused by mineral deposits left behind after water evaporates. These stains can obstruct your view, dull your car’s appearance, and even cause long-term etching in the glass if left untreated. If you're asking how to remove hard water stains from car windows, the first step is a thorough cleaning using a quality automotive glass cleaner to remove surface dirt and debris. Next, create a 50/50 solution of white vinegar and distilled water. Apply the solution to the affected areas using a spray bottle or by soaking a microfiber cloth in the mixture. Let it sit for a few minutes to dissolve the mineral buildup, then wipe the surface clean in a circular motion. Rinse the glass with clean water and dry it with a fresh microfiber towel. For tougher stains, commercial hard water removers designed for automotive glass may be necessary. These products contain stronger acids that break down calcium, magnesium, and other deposits more effectively than vinegar. A clay bar or polishing compound can also help if the deposits have bonded strongly to the surface. Always test a small area first and avoid using abrasives like steel wool, which can scratch the glass. Once the stains are removed, consider applying a hydrophobic window coating to protect against future water spotting. Regular washing, especially after rain or sprinkler exposure, also helps prevent mineral buildup. Keeping your windows clear not only improves your vehicle's appearance but also ensures optimal visibility for safer driving.
How to Remove Hard Water Spots from Windshield
Hard water spots on your windshield can be a persistent and annoying problem, often resulting from sprinkler systems, rainwater, or washing with untreated tap water. These spots are caused by mineral deposits—mostly calcium and magnesium—that are left behind as water evaporates on the glass. If you're wondering how to remove hard water spots from your windshield, one of the most effective home remedies is a solution made from equal parts white vinegar and distilled water. Spray or dab the solution generously over the affected area, allow it to sit for five to ten minutes, and then gently wipe with a microfiber cloth using circular motions. The acidity of vinegar helps dissolve the mineral buildup without harming the glass. For more stubborn spots, a paste of baking soda and water can be applied as a gentle abrasive, or you can use a dedicated automotive water spot remover available at most auto parts stores. These cleaners often contain a blend of mild acids and surfactants specifically formulated to break down mineral residues without scratching the glass. Another highly effective option is using a clay bar treatment. The clay bar can pick up and remove mineral particles that have bonded to the glass, leaving a smooth, spot-free surface. Always follow up any treatment by rinsing the windshield with clean water and drying it thoroughly to prevent new spots from forming. Preventative steps include applying a water-repellent glass coating and routinely washing your windshield to remove mineral-rich water before it dries. Consistent maintenance ensures better visibility and prolongs the life of your windshield.
How to Remove Hardened Tree Sap from Car Windows
Hardened tree sap is a sticky, stubborn substance that can be difficult to remove from car windows and glass surfaces. If you're wondering how to remove hardened tree sap from car windows, the key is to soften the sap before attempting to wipe it off. Start by applying isopropyl rubbing alcohol or a commercial tree sap remover to the sap-affected area. Let the solution soak into the sap for a few minutes to loosen its bond with the glass. Once the sap has softened, use a microfiber cloth to gently rub it away using circular motions. Avoid using excessive force or abrasive tools like metal scrapers, which can scratch the glass. If the sap remains stubborn, use a plastic scraper or an old credit card to carefully lift it from the surface. Reapply the sap remover as needed until the sap is fully gone. After removal, clean the window with an automotive glass cleaner to remove any residue and restore clarity. Some drivers also use household alternatives like warm soapy water or hand sanitizer (which contains alcohol) when commercial products aren’t available. For heavily contaminated windows, a clay bar treatment may also help lift sap and other embedded contaminants from the surface. Regular waxing of the car’s roof or use of a windshield sealant can make it easier to remove sap in the future. To prevent sap buildup, try to avoid parking under trees, especially during warm months when sap flow is at its peak. Prompt removal keeps your windows crystal clear and protects the glass from long-term staining.
How to Fix Hazy Window Tint
Hazy window tint can be a frustrating issue, especially if it begins to impair visibility or affect the look of your car. If you're asking how to fix hazy window tint, the cause will determine the solution. Haze can result from trapped moisture during installation, surface contaminants, age-related degradation, or the breakdown of adhesive. If your tint is relatively new, haziness may simply be a result of trapped moisture that hasn’t fully evaporated yet. In this case, wait a few days, preferably in warm weather, and the haze will usually clear on its own. If the haze persists beyond a week or two, it’s time to clean the surface. Use a mild soap solution and a microfiber cloth to gently clean the tinted side of the glass—avoid ammonia-based cleaners, which can degrade tint film. If the tint still appears hazy after cleaning, it’s likely the adhesive has deteriorated or the film has become scratched or delaminated. Unfortunately, once tint film starts to degrade internally, it cannot be restored and must be replaced. A professional tint shop can remove and replace the film properly, ensuring no haze or bubbles. If you attempt removal yourself, use a heat gun or hairdryer to loosen the adhesive, then peel back the film slowly. Clean any remaining adhesive with a safe window cleaner and install a new film according to manufacturer guidelines. Investing in high-quality tint and ensuring proper installation is the best way to prevent hazing in the future. Keeping the tint clean and protected from UV damage will also extend its clarity and life span.
How to Fix Heat and Defrost Not Working in Car
If your vehicle’s heating and defrost system isn't working, it can cause discomfort and severely impact visibility, especially during cold or wet weather. If you're wondering how to fix heat and defrost not working in your car, the first step is to check the simplest components. Begin by examining the fuse box—refer to your owner’s manual to locate and inspect the fuse associated with the climate control or blower motor. If the fuse is blown, replace it and test the system. If the fuse is intact, check the blower motor next. A malfunctioning motor can result in no air movement at all, regardless of temperature settings. You can test the motor by turning on the fan at various speeds; if there’s no airflow, the motor or resistor may be faulty. Next, inspect the heater core, which is responsible for warming the air. If the heater core is clogged or leaking, it won’t transfer heat properly. You might notice a sweet smell (coolant) or foggy windows inside the car as signs of a heater core issue. Also, ensure that the coolant level is adequate, as low coolant can prevent proper heat transfer. For the defrost system specifically, check the mode door actuator that controls air flow direction. If the actuator is stuck or malfunctioning, warm air won’t be directed toward the windshield. In some vehicles, climate control systems are electronic and may require diagnostic tools to identify software or sensor-related faults. If DIY troubleshooting doesn’t resolve the issue, a professional mechanic can pinpoint the cause and carry out safe, effective repairs.
How to Clean Headlights Fogged with Water
Fogged headlights are a common issue that reduces visibility and safety, especially during night driving or in rainy conditions. If you're wondering how to clean headlights fogged with water, the first step is identifying whether the fog is on the exterior or interior of the lens. For exterior fogging caused by oxidation or grime, start by washing the headlight with a mild soap solution and a microfiber cloth. If fogging persists, use a headlight restoration kit that typically includes a sanding pad, polishing compound, and UV sealant. These kits help remove the cloudy layer and restore the lens to a clearer condition. However, if the fog is on the inside of the lens, moisture has entered the headlight housing. This internal condensation can be due to cracks in the lens, poor seals, or a faulty vent. To remove interior moisture, you'll need to access the back of the headlight. Remove the headlight assembly from the vehicle if needed, open the housing, and dry it using a clean towel, silica gel packets, or compressed air. For more persistent internal fogging, place the entire unit in a warm, dry environment like under sunlight or near a dehumidifier. Once dry, inspect and replace any damaged seals or gaskets before reinstalling the headlight to prevent future moisture buildup. In some cases, drilling a tiny ventilation hole and inserting a one-way moisture valve can help resolve recurring fog issues. Keeping your headlights clear not only improves road safety but also ensures your vehicle looks well-maintained. Regular inspection and early attention to fogging can prevent long-term headlight damage.
How to Remove Headlamp Fog
Headlamp fog, whether internal or external, can dramatically reduce headlight effectiveness and create dangerous driving conditions. If you're asking how to remove headlamp fog, the first step is to determine the location and cause of the fog. External fog or haze is often due to oxidation of the plastic lens. This creates a cloudy appearance that scatters light instead of allowing it to shine directly. To fix it, clean the lens with soap and water, then use a headlight restoration kit. These kits often include sanding discs, polishing compounds, and a UV-resistant clear coat to restore clarity. Begin by taping off the area around the headlamp to avoid scratching the paint. Use the provided abrasive pads or sandpaper to remove the outer oxidized layer. After sanding, polish the lens until it becomes clear, then apply the UV sealant to prevent future clouding. If the fog is internal, it's typically caused by moisture infiltration. Check for cracks, damaged seals, or clogged vents around the headlamp housing. You’ll need to remove the headlight unit and open the casing if possible. Use compressed air, silica gel packets, or a blow dryer to evaporate the moisture. After removing internal fog, replace any faulty seals and consider resealing the edges of the housing using silicone adhesive. To prevent both types of fogging, regularly clean your headlights, park in shaded areas when possible, and inspect seals during routine maintenance. Clear headlights not only improve aesthetics but also increase nighttime visibility and overall road safety.
What is Heads Up Display in Cars
A Heads-Up Display (HUD) is an advanced automotive feature designed to project essential driving information onto the windshield or a small transparent screen within the driver's line of sight. This technology enhances driving safety by allowing the driver to monitor critical data without taking their eyes off the road. If you're wondering what a Heads-Up Display in cars actually includes, common elements are vehicle speed, navigation instructions, incoming call notifications, lane departure warnings, and sometimes augmented reality overlays for navigation and hazard detection. HUD systems work using projectors and reflective surfaces, usually built into the dashboard. Some high-end vehicles use laser projection or OLED screens to deliver sharper, more customizable displays. The projected data appears to float just above the hood from the driver’s perspective, improving reaction time by reducing distractions. Originally developed for fighter jets, HUDs have become increasingly common in modern vehicles, especially in premium models and those focused on driver-assist technology. Many HUDs can be adjusted for brightness, size, and placement, and some even integrate with night vision systems or adaptive cruise control to offer real-time safety alerts. Aftermarket HUDs are also available for older vehicles and typically work via a smartphone app or plug into the vehicle’s OBD-II port to gather real-time data. Heads-Up Displays are especially helpful when driving at night, in unfamiliar areas, or in heavy traffic, offering a hands-free, distraction-free way to stay informed. As automotive technology continues to evolve, HUD systems are expected to become standard features, improving both convenience and safety for drivers.
What is Heads Up Navigation Display
A Heads-Up Navigation Display (HUD Navigation) is a specialized version of the standard Heads-Up Display that focuses on projecting turn-by-turn directions and route information onto the windshield or a transparent screen. If you're wondering what a Heads-Up Navigation Display is, it’s a feature designed to keep your eyes on the road while offering visual navigation cues in real-time. Instead of glancing at a center console, dashboard screen, or smartphone, drivers can see upcoming turns, lane guidance, street names, speed limits, and estimated arrival times directly in their field of view. This greatly reduces the need for head movement and improves reaction time, especially in complex traffic environments or unfamiliar cities. HUD Navigation systems are often integrated with the car's onboard GPS, but many newer models also sync with smartphones via Apple CarPlay or Android Auto. Some high-end systems offer augmented reality overlays, visually marking the exact lane or street to turn onto using colored arrows or animations. These displays may also show real-time traffic data, points of interest, or voice command prompts. Most HUDs can be adjusted for height, brightness, and content, allowing drivers to customize their experience. HUD Navigation is particularly beneficial in poor weather or nighttime driving conditions when glancing away from the road can increase risk. Some automakers even integrate navigation HUDs with adaptive cruise control and lane-keeping assist to form a cohesive driver assistance system. As the technology becomes more accessible, HUD Navigation Displays are quickly moving from luxury features to mainstream essentials in modern automotive design.
How to Replace the AS-1 Line Tint on Windshield

