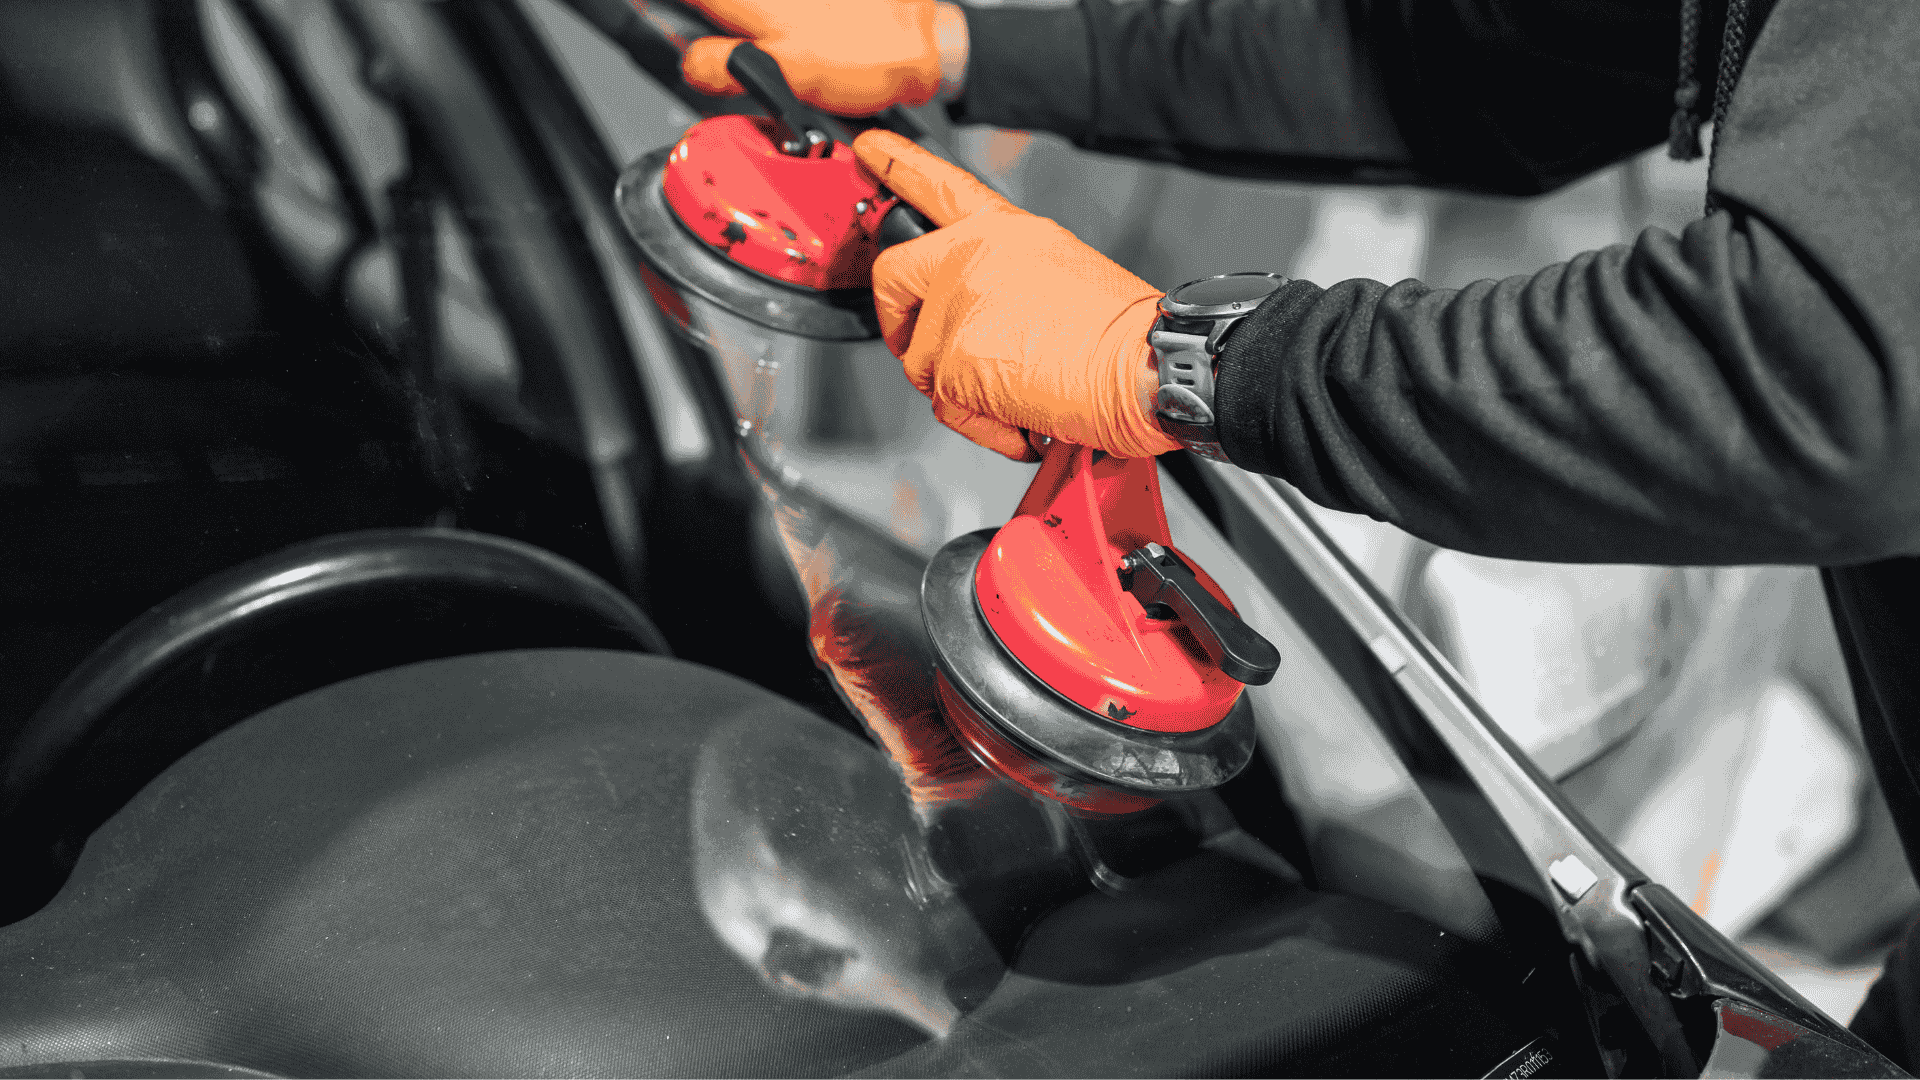
Windshield Maintenance and Wiper Care Essentials
Windshield Maintenance and Wiper Care Essentials
Windshield Maintenance and Wiper Care Essentials
Replace your windshield as soon as next day at your home, work or your preferred location.
By submitting this form you are agreeing to receive SMS and phone call updates on your windshield replacement and at anytime can opt out by replying "STOP".
Replace your windshield as soon as next day at your home, work or your preferred location.
By submitting this form you are agreeing to receive SMS and phone call updates on your windshield replacement and at anytime can opt out by replying "STOP".
By submitting this form you are agreeing to receive SMS and phone call updates on your windshield replacement and at anytime can opt out by replying "STOP".
By submitting this form you are agreeing to receive SMS and phone call updates on your windshield replacement and at anytime can opt out by replying "STOP".
How to Fix a Windshield Surface Chip.
Windshield chips are among the most common forms of minor automotive glass damage, typically caused by flying gravel, road debris, or sudden changes in temperature. If left unattended, even a tiny chip can grow into a large crack due to stress from wind pressure, vibration, or thermal expansion, especially during hot and cold cycles. If you're wondering how to fix a windshield surface chip, the key is early detection and prompt repair. Begin by examining the chip to ensure it's not larger than a quarter and doesn't extend deep into the layers of the glass. If the damage is shallow and only affects the outer layer, a DIY windshield repair kit is often sufficient. These kits include a resin solution and an applicator that allows you to inject the resin into the chip. The area should be thoroughly cleaned of dust, oil, and moisture before application, typically using a razor blade to scrape away debris and an alcohol wipe to sanitize the surface. Once cleaned, apply the resin and cover it with a curing strip. Place the vehicle under direct sunlight or use a UV light to allow the resin to cure. Once cured, scrape off any excess resin and polish the surface. This will restore the clarity of the windshield and help prevent the chip from expanding. However, if the chip is large, shows spiderweb-like cracks, or lies within the driver's direct line of vision, professional assistance is highly recommended. Glass technicians can assess whether a repair is viable or if a full windshield replacement is necessary. Failing to address a chip early can compromise the windshield’s structural integrity, reduce visibility, and even interfere with the performance of advanced driver-assistance systems (ADAS) that rely on sensors mounted behind the glass.
How to Fix Tiny Specks on Windshield.
Tiny specks on your windshield can be incredibly annoying, especially when driving toward direct sunlight, as they scatter light and reduce overall visibility. These specks are often caused by hard water residue, mineral deposits, tree sap, or even fine road tar. If you're asking how to fix tiny specks on the windshield, start by giving the windshield a thorough cleaning. Use a high-quality automotive glass cleaner that is ammonia-free to avoid damaging any tint or coatings. Spray the cleaner onto a clean microfiber cloth—not directly on the glass—to avoid overspray onto your dashboard or electronics. Wipe in a vertical then horizontal motion to ensure complete coverage. If specks remain, use a clay bar kit designed for glass. These kits include a lubricant and a clay bar that lifts stubborn contaminants without scratching the surface. Simply spray the lubricant generously over the glass and rub the clay bar across the windshield using light pressure. You’ll feel the clay bar glide more smoothly as it picks up embedded dirt and particles. Once finished, wipe the windshield with a clean microfiber towel. For extremely persistent specks, such as calcium or lime deposits, use a vinegar and water solution in equal parts. Spray it onto the glass, let it sit for 5 to 10 minutes, then scrub gently with a non-abrasive pad. Dry thoroughly to prevent new water marks from forming. Regular maintenance and use of a hydrophobic coating, like Rain-X or a ceramic windshield protectant, can help prevent future speck buildup. These products repel water, dirt, and grime, keeping your windshield crystal clear and reducing the frequency of deep cleans.
How to Refill Windshield Washer Fluid.
Refilling windshield washer fluid is one of the simplest yet most frequently overlooked maintenance tasks. If you're wondering how to refill windshield washer fluid, first locate the washer fluid reservoir under the hood. It’s typically marked with a blue or yellow cap featuring a windshield icon with water sprays. Make sure your engine is cool before you begin. Open the cap and check the fluid level—most reservoirs are translucent, allowing you to see the fluid inside. Use a funnel to pour in a washer fluid that matches the season: regular fluid for moderate climates and winter blend for freezing conditions. Do not substitute with plain water, as it can freeze in cold temperatures or breed bacteria and mold in warmer months. Some washer fluids also include additives that help remove bugs, road grime, or salt. If your vehicle has a rear window washer or headlight washers, ensure the fluid reaches those systems too. After filling the tank, close the cap tightly and test the system from inside the vehicle by engaging the windshield washer switch. Ensure that fluid sprays evenly from both nozzles and the wipers activate as expected. If the spray pattern is uneven or weak, clean the nozzles with a pin or use compressed air to remove debris. Keeping the reservoir full ensures you're never caught in a situation where you can't clear your view due to bugs, bird droppings, or muddy splashback, especially on highways or during rainy conditions.
How to Replace Windshield Washer Fluid Tank.
A cracked or leaking windshield washer fluid tank can lead to a loss of fluid pressure, no spray from your washer nozzles, and increased driving hazards during poor weather. If you're asking how to replace the windshield washer fluid tank, begin by identifying the location of the tank in your vehicle—it’s usually near the front fender or behind the bumper, often beneath or beside the coolant reservoir. Consult your owner’s manual for exact location and removal instructions. Before starting, disconnect the negative battery terminal to prevent accidental shorts when handling electrical components. Drain any remaining washer fluid by removing the tank’s cap and using a siphon or allowing the fluid to drain once the hoses are detached. Remove the screws, bolts, or clips holding the tank in place. Carefully disconnect the electrical connector for the pump and detach the fluid hoses. Gently remove the tank from the engine bay. Install the new washer fluid tank by reversing the process: reconnect the pump wiring and fluid hoses, then mount the new tank securely with its fasteners. Refill with appropriate washer fluid and test the system to ensure there are no leaks and that spray nozzles function properly. A properly functioning washer system is essential not only for visibility but also for the operation of advanced windshield sensor systems in newer vehicles. Some vehicles have sensors for rain, light, or automatic wiper systems that rely on a clean windshield to operate effectively, and a compromised washer tank puts that system at risk.
How to Remove Water Spots from Windshield.
Water spots on your windshield are a frustrating and common issue caused by mineral deposits in tap water that are left behind when water evaporates. These minerals bond with the glass surface, especially in hot climates where evaporation is rapid. If you're wondering how to remove water spots from your windshield, begin by washing the entire windshield with warm soapy water to remove surface grime and dirt. Rinse and dry thoroughly. Next, apply a solution of equal parts white vinegar and distilled water to a clean microfiber cloth and gently rub the affected areas. Vinegar helps to break down calcium and magnesium deposits, which are the main culprits in hard water spots. Allow the solution to sit for five to ten minutes before scrubbing with a soft sponge or non-scratch pad. For persistent or etched spots, use a specialized automotive water spot remover or a cerium oxide-based glass polish. Apply it with a glass-safe applicator pad, working it into the affected areas in circular motions. Rinse and dry thoroughly. For added protection, apply a hydrophobic glass coating afterward to help repel future mineral buildup and make cleaning easier. Keep your windshield wipers clean and avoid using unfiltered tap water in your washer reservoir to prevent recurring water spot issues. Regular maintenance ensures a clear line of sight and prevents the spots from becoming permanent blemishes that reduce visibility and glass integrity.
How to Remove Windshield Wiper Scratches.
Windshield wiper scratches are a common yet often overlooked form of glass damage that can impair visibility, especially at night or when facing oncoming headlights. These scratches typically occur when wipers are used on a dry windshield or when debris like sand, salt, or small stones gets trapped under the wiper blade. If you're asking how to remove windshield wiper scratches, start by inspecting the glass under good lighting to determine the severity. Light, superficial scratches can often be corrected using a dedicated glass polish or cerium oxide compound. Begin by thoroughly cleaning the windshield with an ammonia-free glass cleaner and a microfiber cloth to remove all dirt, oils, and waxes that could interfere with the repair. Apply the polishing compound to a foam or felt pad attached to a dual-action polisher or drill attachment. Work the polish into the scratched area in overlapping circular motions, applying light to moderate pressure. Repeat this process several times until the scratches fade or disappear. Wipe the area clean and inspect your progress. For deeper scratches that your fingernail can catch, polishing may not be enough and professional repair or even replacement could be necessary. Avoid using household abrasives like toothpaste or baking soda—they may dull the glass or cause additional micro-scratches. After the repair, consider applying a rain-repellent coating to further protect the surface and enhance visibility during wet conditions. Prevent future scratches by regularly cleaning your wiper blades and replacing them every 6 to 12 months depending on climate and usage.
How to Replace Windshield Wiper Fluid Tank.
Replacing a damaged or leaking windshield wiper fluid tank is essential for maintaining a reliable washer system that ensures safe driving visibility. If you're wondering how to replace the windshield wiper fluid tank, the procedure is relatively straightforward but may require some mechanical familiarity. First, open the hood and locate the reservoir—usually mounted near the fender or firewall. Drain any remaining fluid and disconnect the negative battery terminal for safety. Remove any components obstructing access to the tank such as the air filter housing or intake duct. Next, disconnect the electrical connector to the washer pump and any attached hoses. Use a socket wrench or screwdriver to remove the bolts or clips securing the reservoir in place. Gently lift out the tank, taking care not to spill remaining fluid on painted surfaces. Install the new reservoir by reversing the steps: reconnect the electrical plug and fluid hoses, secure it with the original fasteners, and reattach any previously removed components. Refill the tank with a washer fluid appropriate for your climate—use winter blend in colder months to prevent freezing—and test the system. Check for leaks and confirm that fluid sprays evenly from all nozzles. A working washer system is more than a convenience; it's a key safety feature that enables clear visibility during rain, sleet, snow, or when removing bugs and grime. Neglecting to maintain or repair this system can lead to citations in some jurisdictions and severely compromised road safety.
How Long Do Windshield Wipers Last?
Windshield wipers are one of the most critical but often neglected safety components on your vehicle. If you're wondering how long windshield wipers last, the answer depends on various factors including climate, driving conditions, and wiper blade quality. On average, most wiper blades should be replaced every six to twelve months. In hot, sunny climates, the rubber degrades faster due to UV exposure, while in snowy areas, salt and ice wear them down more quickly. Signs that it’s time to replace your wipers include streaking, skipping, chattering, squeaking, or visible cracking in the rubber. Some modern wipers come with wear indicators that change color or show symbols when it’s time for replacement. To maximize their lifespan, regularly clean the rubber edge with a damp cloth and inspect them for signs of wear. Always replace wipers in pairs to ensure balanced performance and avoid partial visibility. High-quality silicone or hybrid blades may last longer and perform better across a broader range of weather conditions than standard rubber blades. Don't wait until you're caught in a storm to realize your wipers are ineffective—routine checks can help you stay prepared and safe. Functional wipers are not only vital for your visibility but are also a requirement in many vehicle inspections and safety checks.
How to Remove Windshield Wiper Scratches.
If you're dealing with a second instance of wiper-induced scratches—especially in heavy-use vehicles or in areas with constant dust, salt, or debris—it’s important to address the issue with more advanced methods. After cleaning and inspecting the windshield, if the scratches are still present despite using polish, the next step is to use a more aggressive cerium oxide slurry with a glass buffing wheel. Apply the compound evenly across the scratched area and work it in using a rotary buffer set to a low RPM to avoid overheating the glass. Use consistent, overlapping passes with light pressure to prevent distortion. If polishing doesn’t solve the problem, consider contacting an auto glass professional who can measure the glass for refraction distortion and suggest either resurfacing or full replacement if necessary. This is especially important in vehicles with heads-up displays or ADAS calibration systems that rely on perfectly clear and optically correct windshields. Replacing the glass should always involve OEM-spec parts to ensure proper fit, clarity, and system compatibility. Prevent future damage by installing beam-style or hybrid wiper blades, which distribute pressure more evenly and are less likely to trap debris. Consider installing a ceramic glass coating, which can help prevent scratches and make cleaning easier.
How to Change Windshield Wipers.
Changing your windshield wipers is one of the simplest car maintenance tasks but also one of the most impactful for safety and visibility. If you're wondering how to change windshield wipers, start by consulting your owner’s manual to find the correct blade size for both the driver and passenger sides. Some vehicles also require a rear wiper blade. Once you have the correct replacements, lift the wiper arm away from the windshield until it stays in place. Locate the release tab or button that holds the blade to the arm—this mechanism varies by manufacturer. Press or slide the release and remove the old blade by pulling it downward or sideways, depending on the attachment type (hook, pin, or bayonet). Align the new blade with the wiper arm and click it into place until it locks securely. Gently lower the arm back onto the windshield. Always replace both front wipers at the same time to ensure consistent performance. After installation, test the blades using your washer fluid to confirm that they sweep smoothly and quietly. If the wipers chatter or leave streaks, double-check the fit or alignment. Avoid waiting for rain to find out your wipers are worn—plan to inspect and replace them seasonally to maintain safe driving visibility year-round.

